Deploy Your Own ICTT Frontend
Set up the BuilderKit for deploying your own Interchain Token Transfer (ICTT) frontend with custom tokens and chains.
In this section, you’ll learn how to deploy your own ICTT frontend using the BuilderKit and pre-configured tokens and chains. Follow these steps to quickly set up and test your own ICTT frontends with Avalanche L1s.
Open the AvaCloudSDK Starter Kit Github Repository
Start by opening the repository on Github.
Open Avalanche Starter KitOpen the Dev Container and Navigate to the Chain Definitions
- Open the repository in a Github Codespace or Visual Studio Code.
- Navigate to the
web-apps/src/app/chains/definitionsfolder.
In this folder, you’ll find separate files for each chain configuration. For example, echo.ts contains the definition for the Echo L1 chain:
import { defineChain } from "viem";

export const echo = defineChain({
    id: 173750,
    name: 'Echo L1',
    network: 'echo',
    nativeCurrency: {
        decimals: 18,
        name: 'Ech',
        symbol: 'ECH',
    },
    rpcUrls: {
        default: {
            http: ['https://subnets.avax.network/echo/testnet/rpc']
        },
    },
    blockExplorers: {
        default: { name: 'Explorer', url: 'https://subnets-test.avax.network/echo' },
    },
    iconUrl: "/chains/logo/173750.png"
});
How to Configure Your Own Blockchain
To configure your custom blockchain (e.g., myblockchain):
- Copy the existing echo.ts file and rename it to myblockchain.ts.
- Update the fields to match your blockchain’s specific details, such as chain ID, network name, and native currency.
- Save the file in the chains/definitions folder.
Import Your Chains
- Navigate to the
web-apps/src/appfolder.
Once you're inside the APP folder, open the constants.tsx file to begin configuring the tokens and chains.
import { myblockchain } from './chains/definitions';Add Imported Chains to Array
After importing the chains, add them into the chains array:
export const CHAINS = [avalanche, avalancheFuji, echo, dispatch, myblockchain];This array will hold the configuration of all the chains that will interact with your ICTT frontend.
Add Your Chain, and Configure Tokens
Next, configure your tokens. Here’s an example token configuration:
export const TOKENS = [
  {
    address: "0x8D6f0E153B1D4Efb46c510278Db3678Bb1Cc823d",
    name: "TOK",
    symbol: "TOK",
    decimals: 18,
    chain_id: 43113,
    supports_ictt: true,
    transferer: "0xD63c60859e6648b20c38092cCceb92c5751E32fF",
    mirrors: [
      {
        address: "0x8D6f0E153B1D4Efb46c510278Db3678Bb1Cc823d",
        transferer: "0x8D6f0E153B1D4Efb46c510278Db3678Bb1Cc823d",
        chain_id: 173750,
        decimals: 18
      }
    ]
  },
  {
    address: "0x8D6f0E153B1D4Efb46c510278Db3678Bb1Cc823d",
    name: "TOK.e",
    symbol: "TOK.e",
    decimals: 18,
    chain_id: 173750,
    supports_ictt: true,
    is_transferer: true,
    mirrors: [
      {
        home: true,
        address: "0x8D6f0E153B1D4Efb46c510278Db3678Bb1Cc823d",
        transferer: "0xD63c60859e6648b20c38092cCceb92c5751E32fF",
        chain_id: 43113,
        decimals: 18
      }
    ]
  }
];Implement the ICTT Component
- Navigate to the
web-apps/src/app/icttfolder.
Once you're inside the ICTT folder, open the page.tsx file to implement the ICTT component in the page. Here’s how to pass the token and chain details to the component:
<ICTT tokens={tokens} token_in="0x8D6f0E153B1D4Efb46c510278Db3678Bb1Cc823d" source_chain_id={43113} destination_chain_id={173750}></ICTT>In this example:
tokenscontains the configuration.token_inspecifies the address of the token being transferred.source_chain_idanddestination_chain_idrepresent the IDs of the source and destination chains.
Run the Application
Move back to the web-apps folder and run the following command to start the app in development mode:
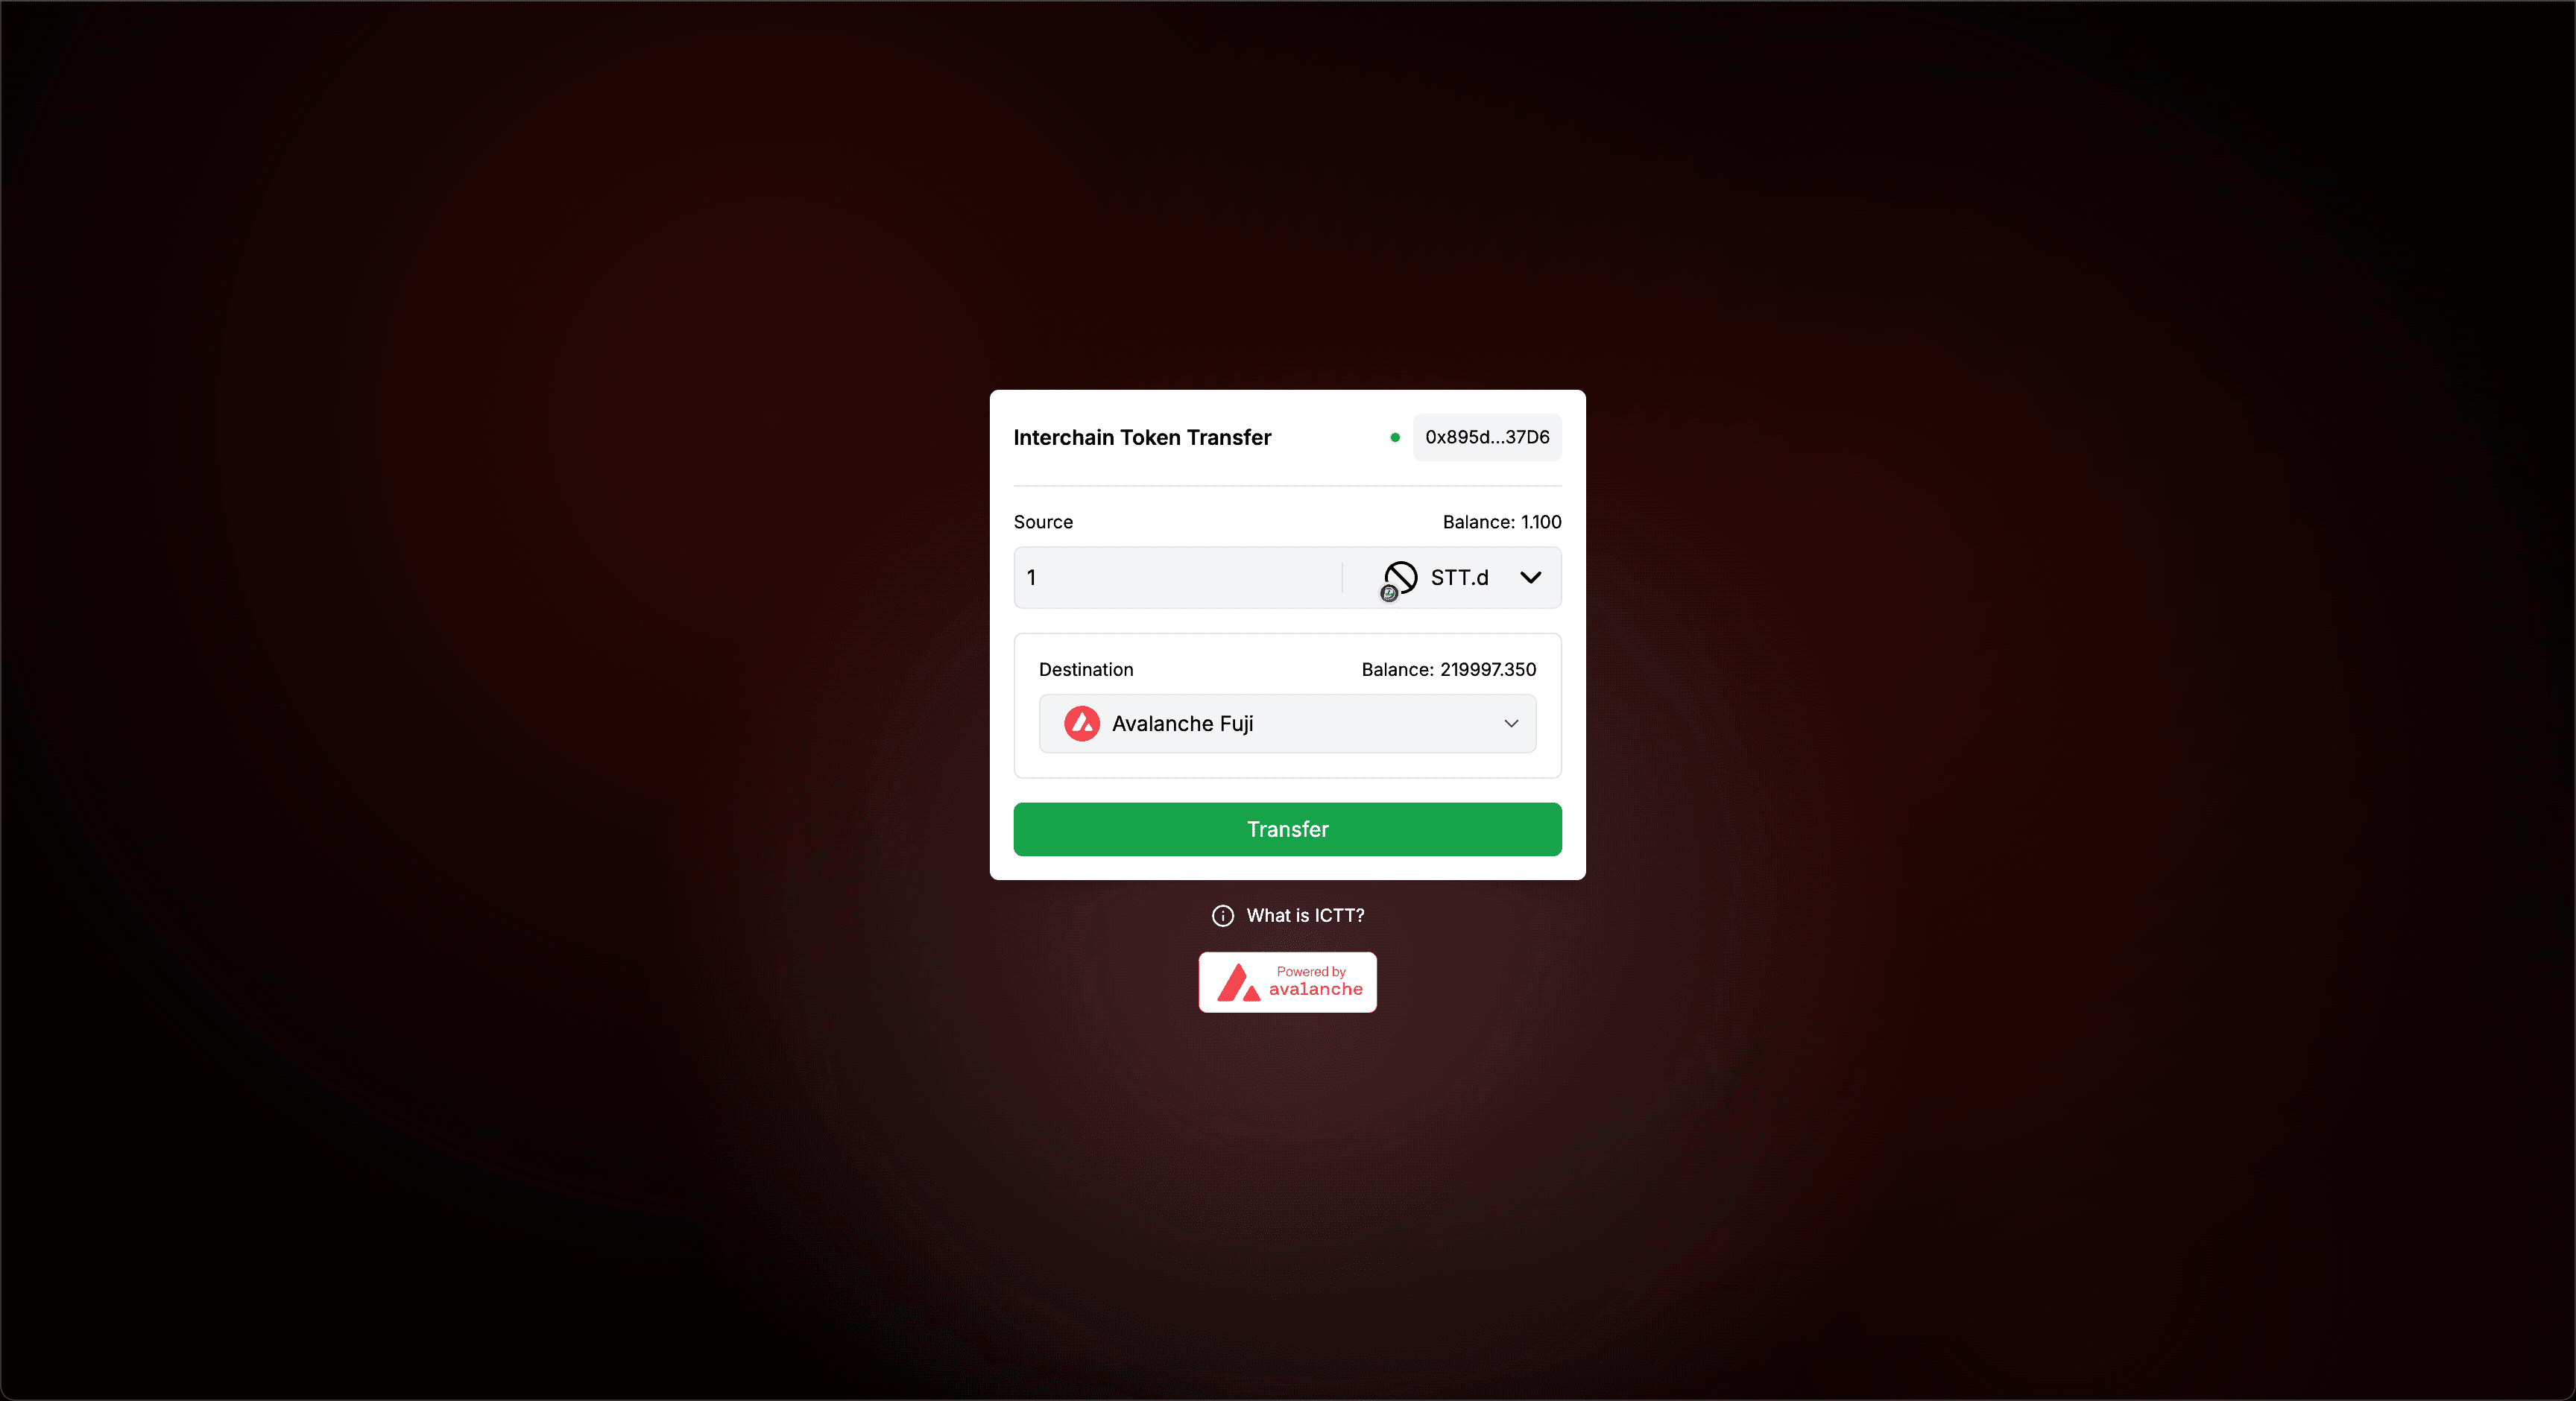
yarn run devYou can now interact with the ICTT component.
Is this guide helpful?